A. Kịch Bản:
Giới thiệu chung:
Công ty GOG là một đơn vị hoạt động trong ngành Real Estate, tại hệ thống Local (On-Prem) công ty đang vận hành và quản lý hệ thống Windows Server 2019&2022 sử dụng các dịch vụ như ADDS, Mdaemon Server,File server,… Tuy nhiên, gần đây công ty đã đăng ký gói Microsoft 365 E5 dành cho doanh nghiệp, do đó công ty cần triển khai mô hình Lai (Hybrid) kết hợp cơ sở hạ tầng On-Prem sẵn có với hệ thống Microsoft 365.
Với tư cách là quản trị viên Microsoft 365 của công ty GOG, bạn được giao nhiệm vụ triển khai sản phẩm Microsoft 365 E5 dành cho công ty mình
Tài khoản quản trị viên cục bộ cho môi trường Local (On-Prem) của GOG (GOG\Administrator).
Tài khoản quản trị viên trên hệ thống Microsoft 365 ([email protected]).
Nội dung chi tiết:
Để triển khai gói sản phẩm Microsoft 365 E5 cho doanh nghiệp bạn cần thực hiện các công việc sau:
- Cấu Hình UPN
- Giả lập lỗi cho cho tài khoản người dùng
- Sử dụng IdFix Tool tìm và sửa lỗi tài khoản người dùng
- Download Azure AD Connect
- Cài Azure AD Connect và thực hiện Full Synchronization
B. Chuẩn Bị
- LAB365-VN-DC1: Windows Server 2019
- Trình duyệt web: Microsoft Edge
- Tên miền: thuê một tên miền trên Internet bất kỳ
- Trong bài hướng dẫn này sẽ sử dụng tên miền: pomonasyrup.com
C. Thực hành:
Bài thực hành gồm các nội dung sau:
- Cấu Hình UPN
- Giả lập lỗi cho cho tài khoản người dùng
- Sử dụng IdFix Tool tìm và sửa lỗi tài khoản người dùng
- Download Azure AD Connect
- Cài Azure AD Connect và thực hiện Full Synchronization
Phần 1 – Cấu Hình UPN
1. Tại máy Windown Server 2019 (Domain controller), vào Run gõ lệnh CMD enter, rồi thực hiện lệnh sau để tạo OU HCM (thay GOG và local bằng tên domain của bạn)
Dsadd ou ou=hcm,dc=gog,dc=local
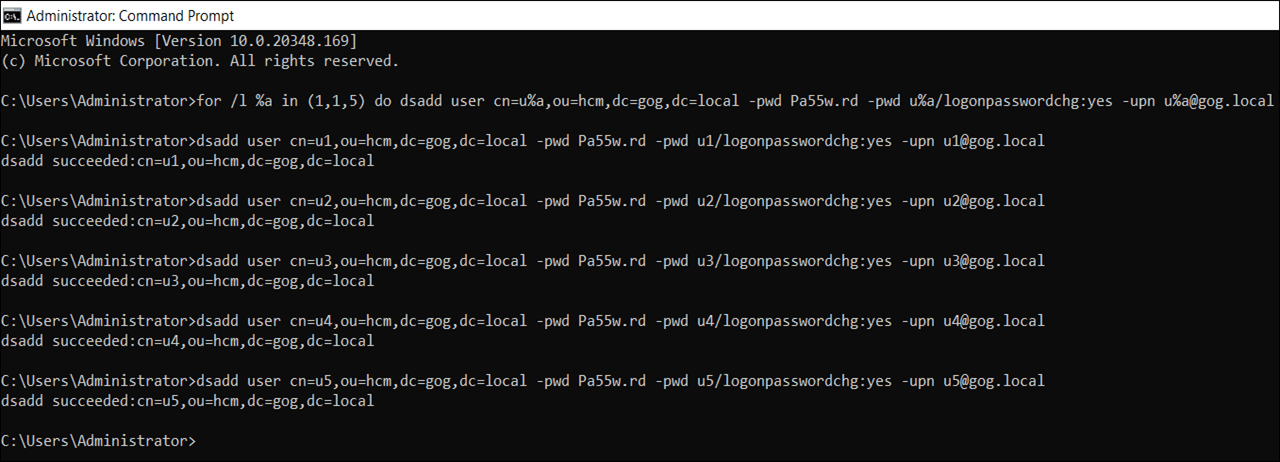
2. Tiếp tục thực hiện lệnh sau để tạo user trong OU HCM
for /l %a in (1,1,5) do dsadd user cn=u%a,ou=hcm,dc=gog,dc=local -pwd Pa55w.rd -upn u%[email protected]
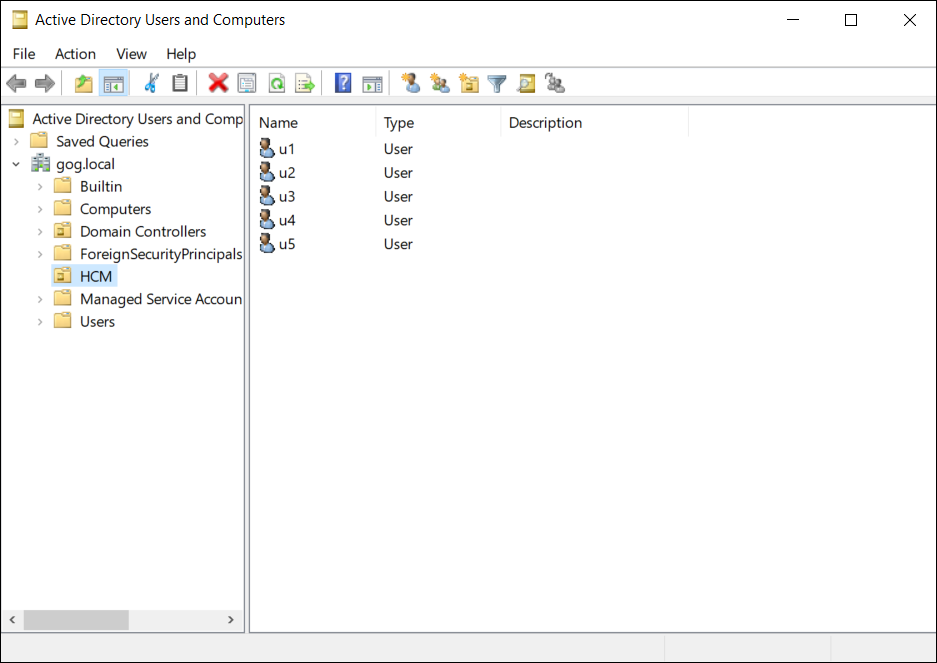
3. Vào Run gõ lệnh DSA.MSC để kiểm tra OU và user vừa tạo
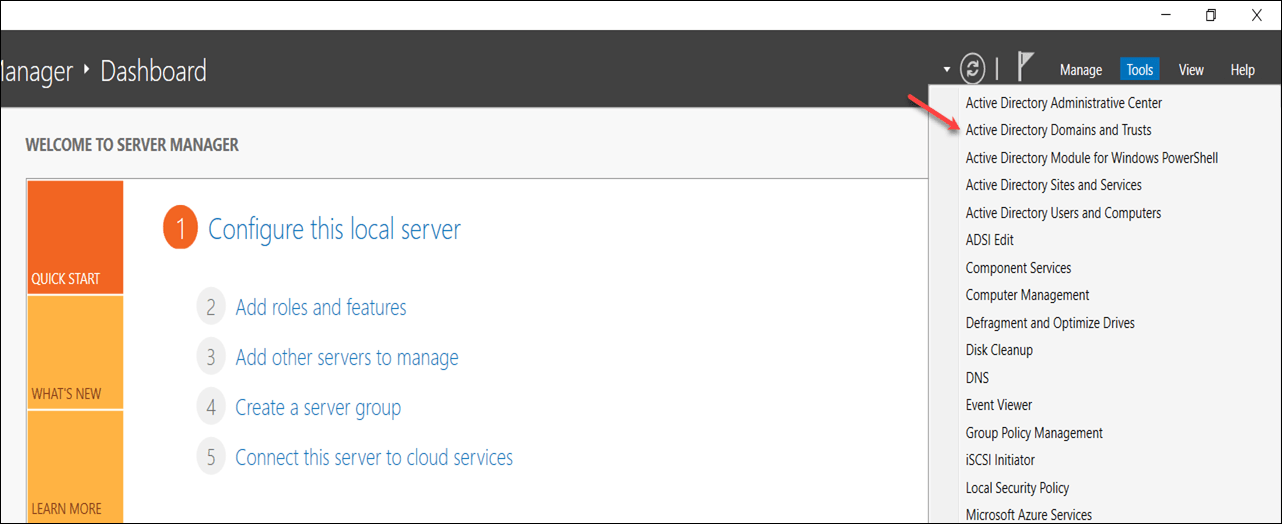
4. Vào Server Manager, tại Server Manager chọn Tool, chọn Active Directory Domains and Trusts
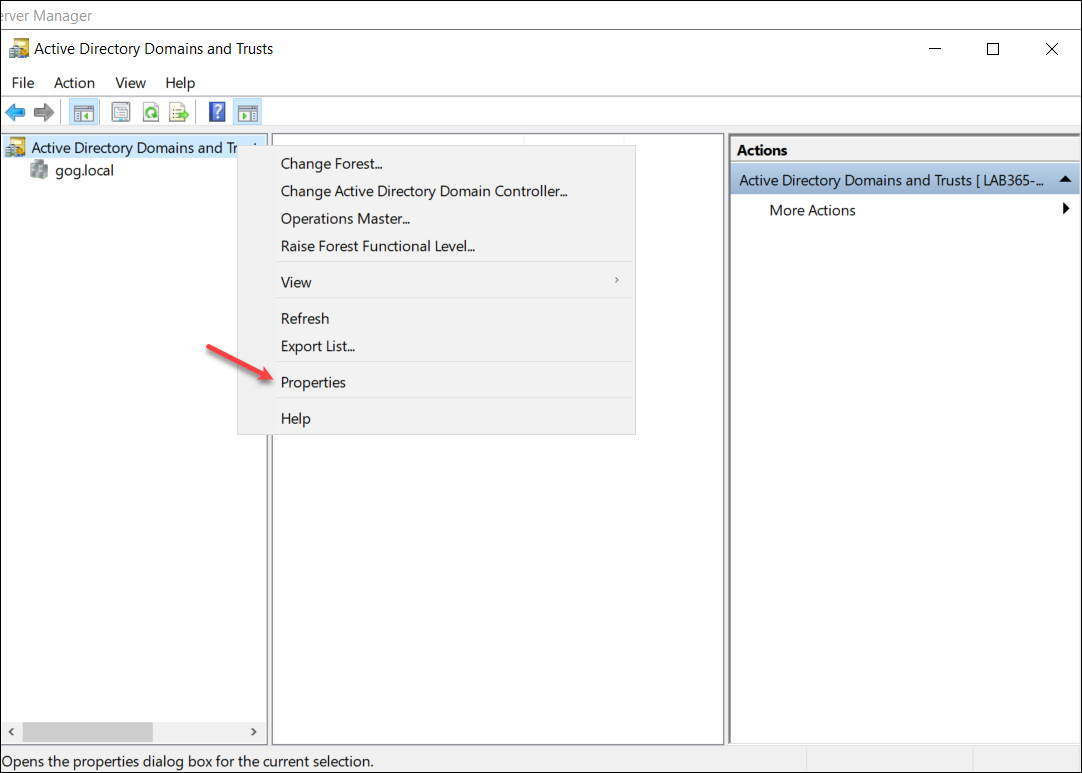
5. Tại của sổ Active Directory Domains and Trusts, phải chuột vào Active Directory Domains and Trusts, chọn Properties
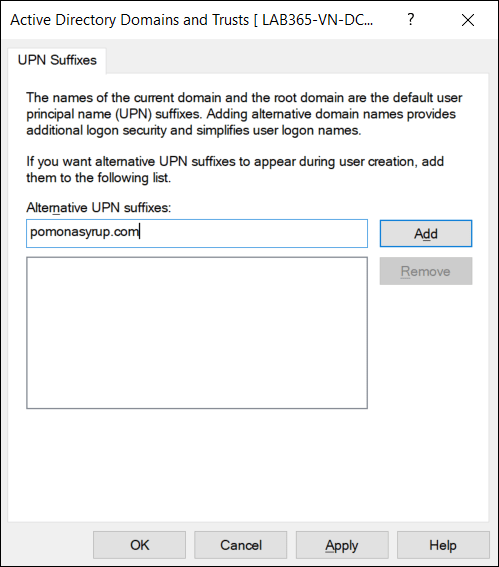
6. Tại màn hình UPN Suffixes, trong phần Alternative UPN suffixes: nhập vào tên miền pomonasyrup.com, chọn Add, và chọn OK
7. Vào Start, phải chuột vào Windows PowerShell, chọn Run as administrator
8. Tại Windows PowerShell thực hiện lệnh sau để đổi tất cả các tài khoản trong AD từ [email protected] sang [email protected]
Get-ADUser -Filter * -Properties SamAccountName | foreach-Object { Set-ADUser $_ -UserPrincipalName ($_.SamAccountName + “@pomonasyrup.com” )}
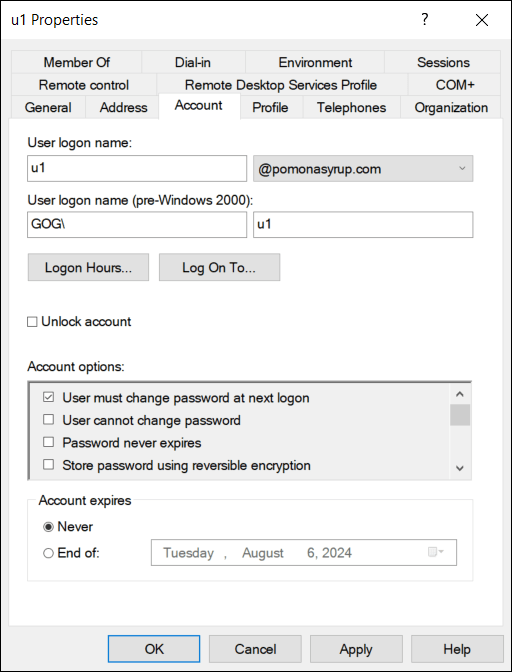
9. Vào Run gõ lệnh DSA.MSC, phải chuột vào user u1 chọn Properties, chọn tab Account, kiểm tra xem đã chuyển sang @pomonasyrup.com
Phần 2 – Giả Lập Lỗi Cho Tài Khoản Người Dùng
1. Vào Windows PowerShell thực hiện lệnh sau, gõ Y và Enter
Set-ExecutionPolicy Unrestricted
2. Thực thi file sau để tạo lỗi cho tài khoản người dùng (để lấy file truy cập vào trang:
https://github.com/thaiph799/CreateProblemUsers.ps1)
.\CreateProblemUsers.ps1
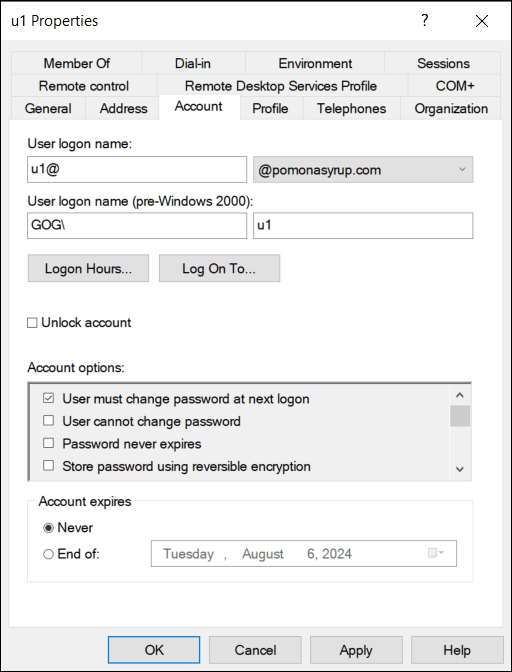
3. Sau khi thực thi xong vào DSA.MSC, phải chuột vào user u1 chọn Properties, chọn tab Account. Kiểm tra thấy User logon name gặp lỗi có thêm @, chọn Cancel
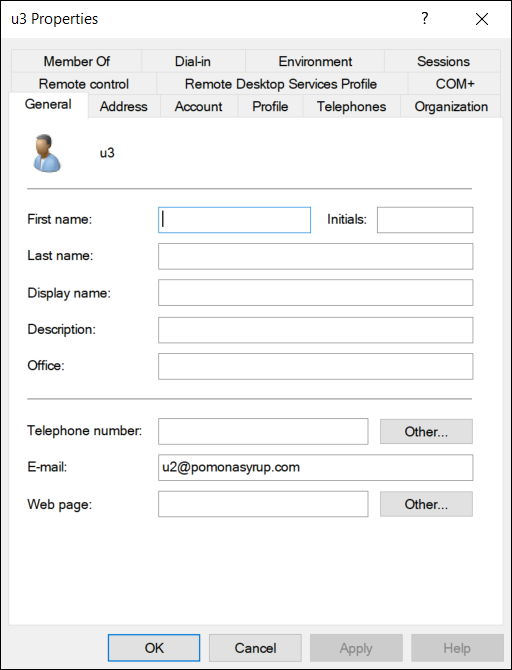
5. Phải chuột vào user u3 chọn Properties, chọn tab General. Kiểm tra thấy trường Email trùng lập với u2
6. Phải chuột vào user u4 chọn Properties, chọn tab General. Kiểm tra thấy Email đang gặp lỗi có khoảng trắng trong email

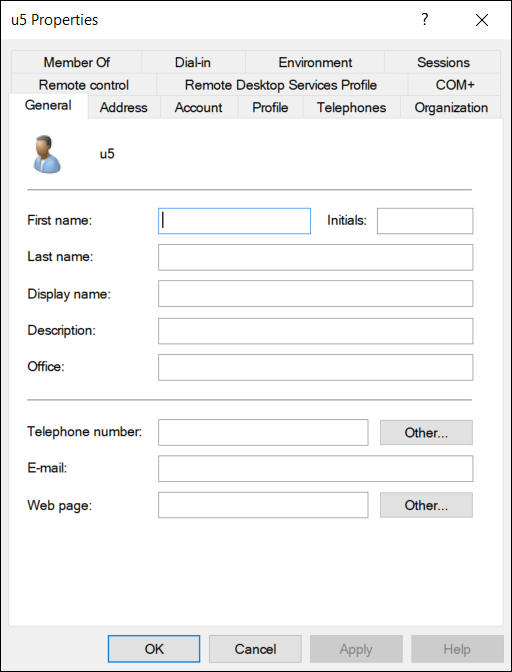
7. Phải chuột vào u5 chọn Properties, chọn tab General. Chưa khai báo thông tin Email của u5
P/S: Hiện tại trong hệ thống GOG phát sinh khoản 300 user đang gặp các lỗi tương tự.
Phần 3 – Sử Dụng IdFix Tool Tìm và Sửa Các Lỗi Tài Khoản Người Dùng
1. Tại máy Windows Server 2019 (Domain Controller), vào Microsoft Edge truy cập vào trang
2. Tại trang Microsoft – IdFix, menu trái chọn Step 2: Install IdFix, chọn Setup.exe và download file
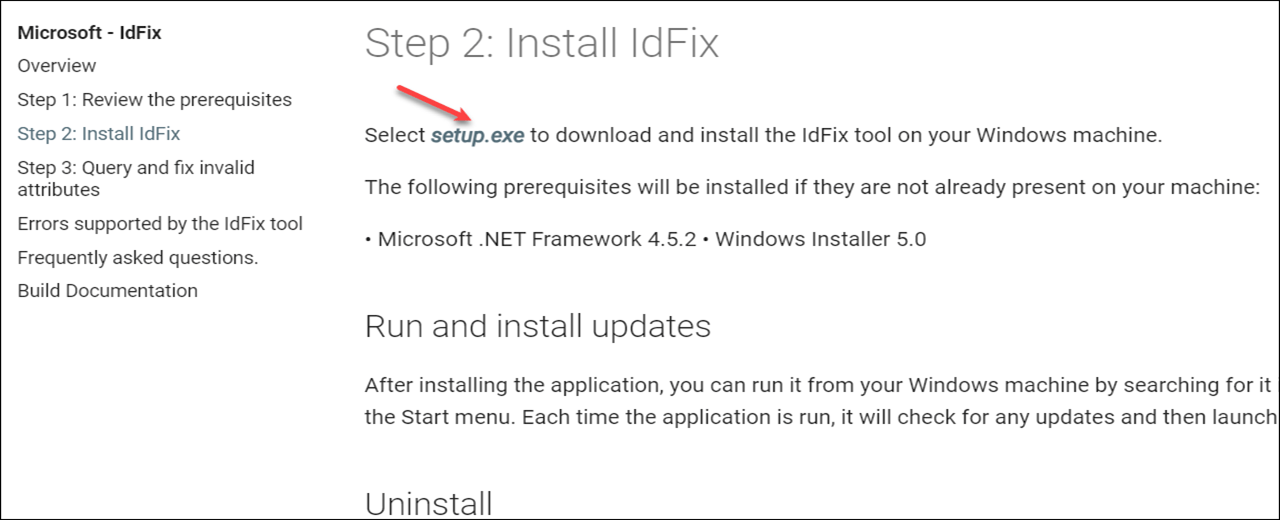
3. Sau khi download xong, vào folder Downloads, thực thi file setup.exe
4. Cửa sổ IdFix Privacy Statement chọn OK

5. Chọn tab Query, sẽ thấy các user bị lỗi
6. Tại cột ERROR sẽ thấy lý do bị lỗi
7. Tại cột ACTION sửa lại tất cả thành EDIT
8. Trên Toolbar chọn Apply

9. Cửa sổ Apply Pending, chọn Yes
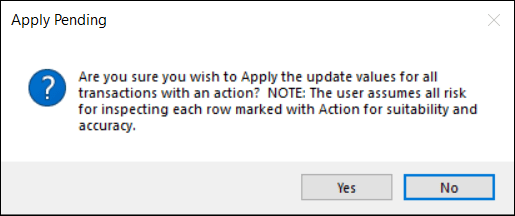
10. Cột ACTION đã đổi sang COMPLETE, và quan sát cột UPDATE thấy u1 và u4 đã được thay đổi


11.Trở về IdFix tool, chọn Query
12. Cột UPDATE sửa email cho u3 thành [email protected]
13. Cột UPDATE thêm email cho u5 là [email protected]
14. Cột Action của các user sửa thành EDIT, chọn Apply

15. Cửa sổ Apply Pending, chọn Yes
16. Kiểm tra lỗi bằng cách chọn Query, không còn thấy lỗi nào nữa
17. Vào DSA.MSC kiểm tra và xác nhận email của các user đã chỉnh sửa hoàn tất
Phần 3 – Download Azure AD Connect
1. Tại máy Domain Controler vào trình duyệt truy cập vào trang
2. Đăng nhập vào bằng tài khoản [email protected]
3. Trên trình duyệt, mở một tab mới truy cập vào trang
https://www.microsoft.com/en-us/download/details.aspx?id=47594
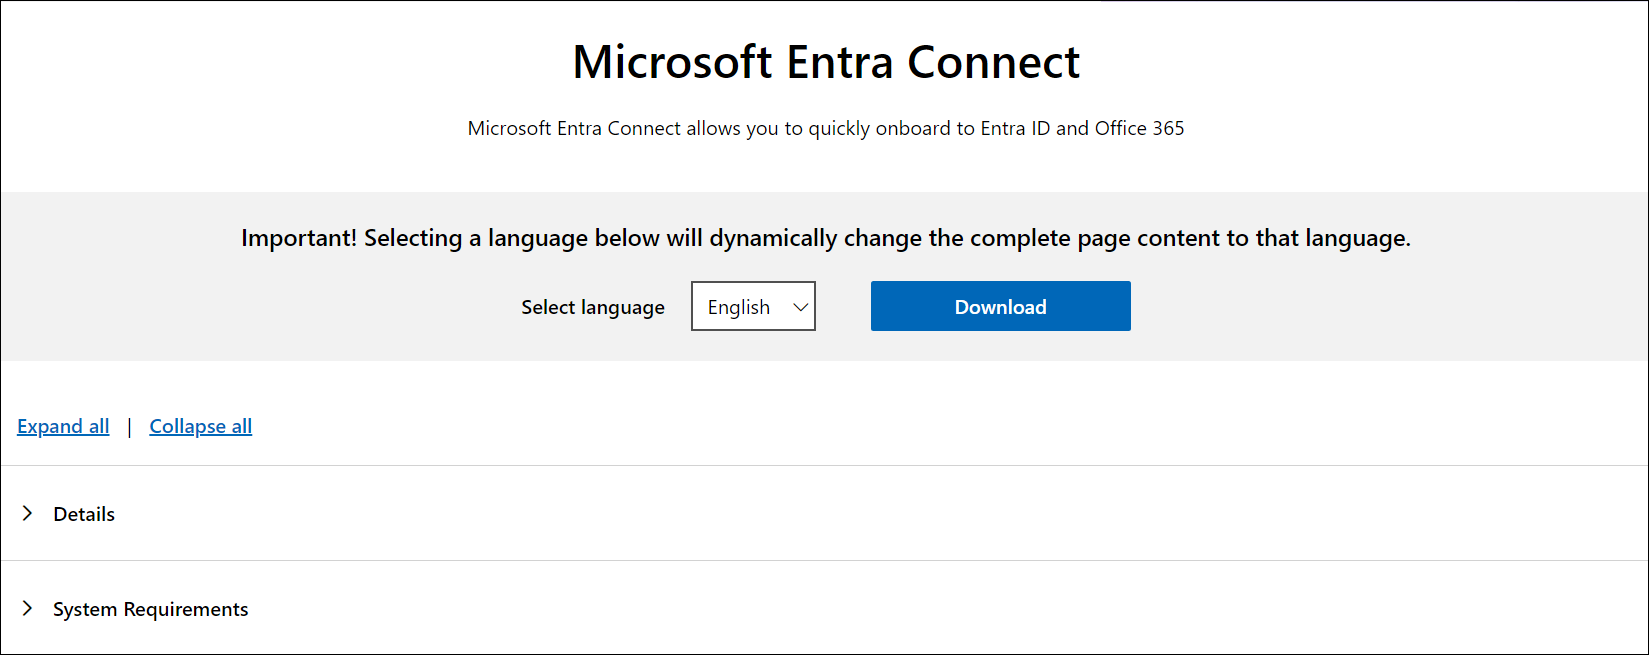
4. Tại trang download Microsoft Entra Connect chọn Download
Phần 4 – Cài Azure AD Connect và Thực Hiện Full Synchronization
1. Sau khi download xong, phải chuột vào file AzureADConnect chọn Install
Nếu báo lỗi TLS vào PowerShell thực hiện lệnh sau:
Import-module -Name “C:\Program Files\Microsoft Azure Active Directory Connect\Tools\AdSyncTools”
Set-ADSyncToolsTls12 -Enabled $true
2. Cửa sổ Security Warning chọn Run, tiến hành cài Azure AD Connect
3. Tại màn hình Welcome to the Microsoft Azure AD Connect Setup Wizard chọn Next
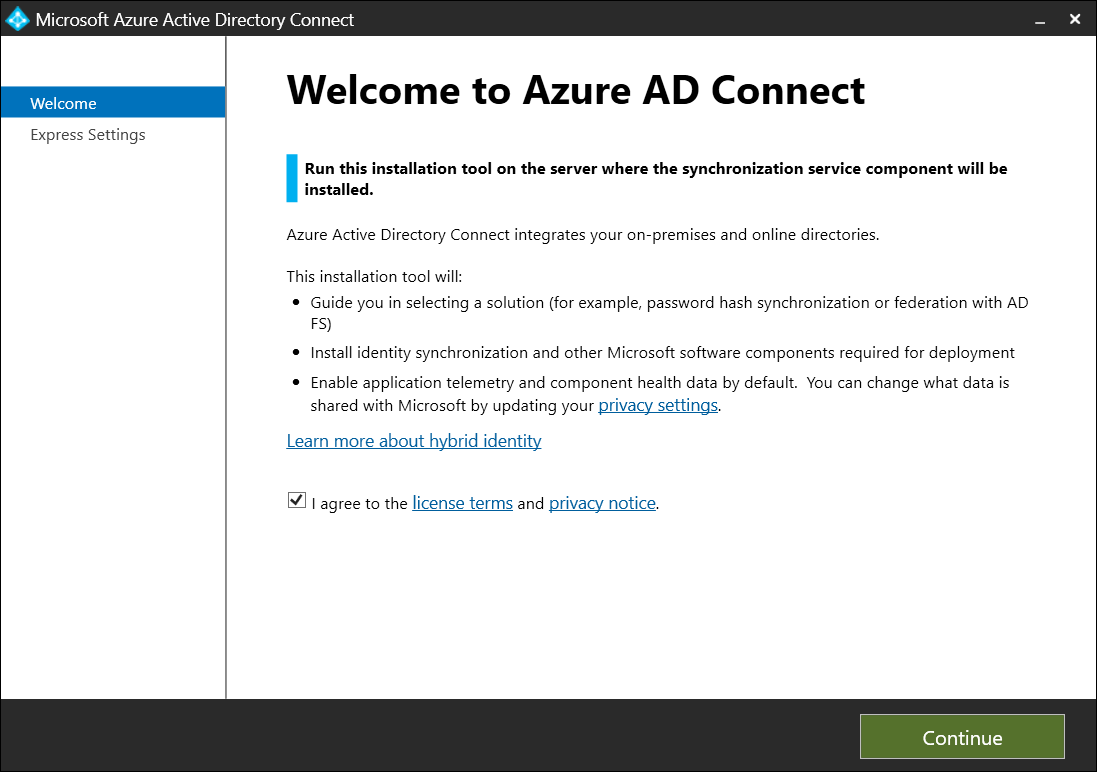
4. Tại màn hình Welcome,chọn I agree to the license terms and privacy notice, chọn Continue
5. Tại màn hình Express Settings, chọn Use express settings
6. Màn hình Connect to Azure AD sử dụng tài khoản [email protected], chọn Next
7. Màn hình Connect to AD DS nhập vào tài khoản quản trị GOG.LOCAL\Administrator chọn Next
8. Màn hình Azure AD sign-in configuration check chọn Continue without matching all UPN suffixes to verified domains chọn Next
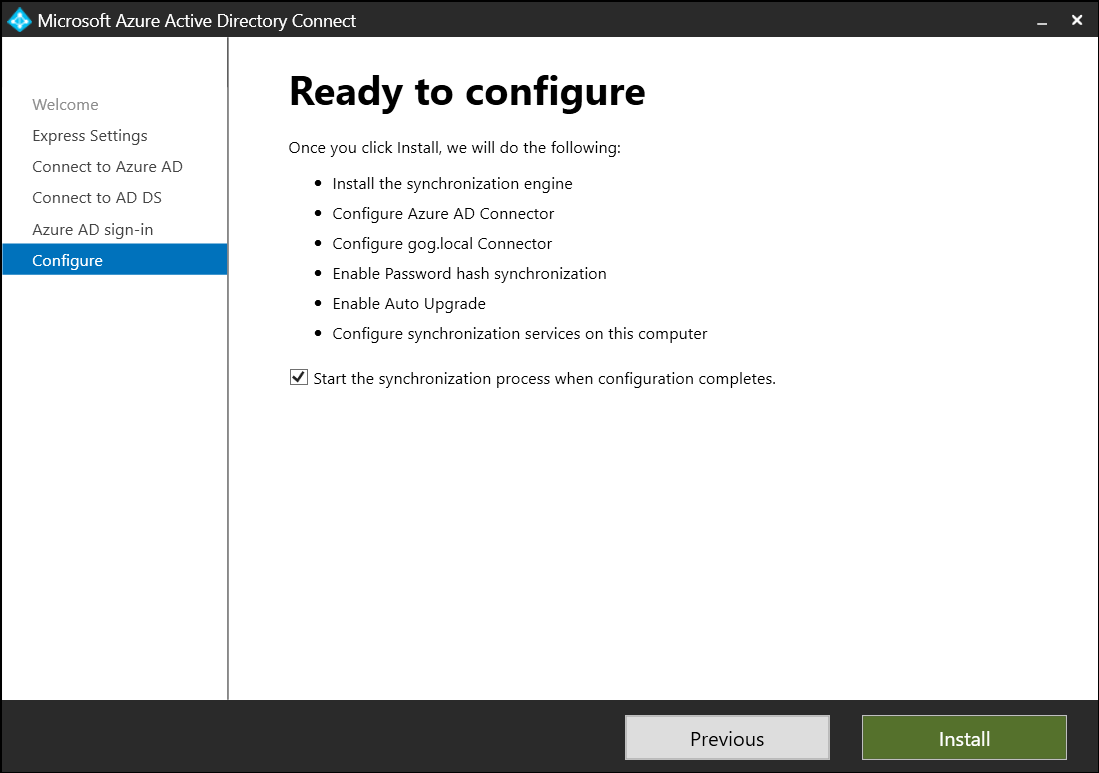
9. Màn hình Ready to configure, check vào Start the synchronization process when configuration completes chọn Install
10. Chờ Install xong chọn Exit
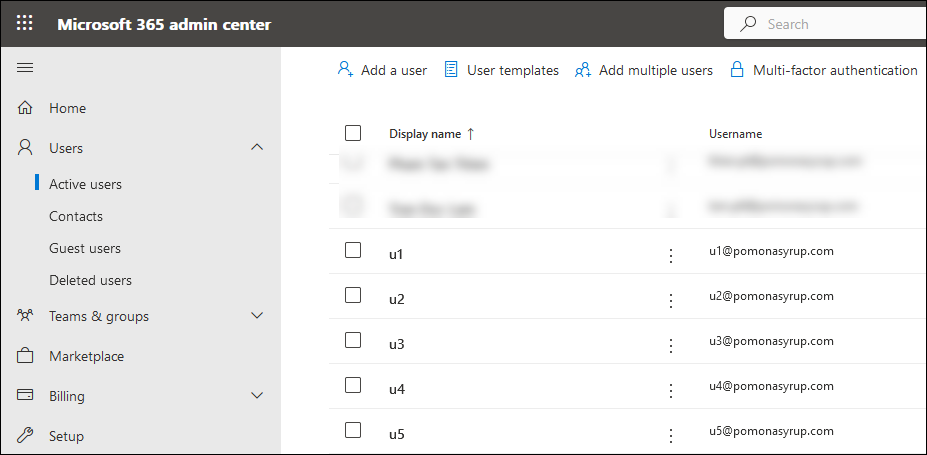
11. Trở lại trang Microsoft 365 Admin Center, kiểm tra các người dùng đã được đồng bộ lên Azure AD
Biên soạn nội dung:
- Phan Hoàng Thái (Tech Expert)
- Trần Trung Hiếu (MCT Microsoft)